
















On this page
Short Answer:
- Core rule: dry cargo, dry container, correct desiccant design, disciplined loading, and documented release.
- Floor gate: reject any container floor reading at 15% or higher before loading.
- Desiccant: calcium chloride for container air; silica only inside cartons and polybags.
- 40HQ dose: 12–15 kg calcium chloride in monsoon risk, versus 8–10 kg in dry season.
- Container rain: driven by dew point, not by visible water on the floor.
- Monsoon timing: load 6–10 a.m. in 20-minute door blocks, then seal.
- Release proof: checklist, five floor readings, photos, and a matching seal log.
- Zero tolerance: active mold, mildew, and musty odor at final release.
In Rotterdam, I opened a container and smelled the loss before I saw it. Musty air hit first. Brown stains crossed the carton tops. Container rain had dripped from the roof across the Pacific, and the destination warehouse rejected the load. That claim ate the margin.
We built this anti mold container shipping SOP from dock checks, shipment records, and QA files at LantaoBags. Not theory. It targets the highest-risk materials: textiles, apparel, bags, paper cartons, leather, wooden pallets, and wood dunnage.
Our custom backpack manufacturing teams run this same gate before every wet-season load. Temperature swings cause condensation. Cargo and packaging hide moisture. Mold needs moisture, warmth, time, and an organic surface.
A checklist factory, warehouse, and freight teams can run on the same day. This is an operations SOP for QC and warehouse teams, not a consumer storage hack.
Next comes a prerequisites checklist, then the six-step dock sequence with floor readings, desiccant doses, and release proof. Every figure comes from our own shipment files, not third-party labs.
Prerequisites for Anti Mold Container Shipping SOP
I run this as a dock pre-flight. Every role signs off before loading. Name one stop-call owner and give that person written authority to halt the stuffing.
Roles:
- QC inspector: reads instruments, signs the gate sheet.
- Warehouse supervisor: owns the stop call.
- Documentation clerk: holds the seal log and photos.
- Forwarder contact: confirms booking and seal number.
Tools: Use a calibrated thermo-hygrometer, a pin-type floor and wood moisture meter, a handheld carton meter, a flashlight, a camera, a seal log, and a desiccant count sheet.
Check calibration first. A drifted pin meter can pass a wet floor. Read the Delmhorst moisture testing guides before the first run. Then palm the floor and smell the door air.
Thresholds:
- Floor moisture below 15%: LantaoBags internal SOP gate. Hard stop.
- Dew point and RH: internal gate at loading.
- AQL visual sampling: reference benchmark only.
Active mold, mildew, or musty odor is zero tolerance at final release. We size samples by ISO 2859-1 AQL and never excuse defects.
Keep bag industry certifications and material proof on file before the first container.
Safety: No loading in active rain without dock protection. Isolate moldy packaging. Follow lifting rules. Never trust HVAC labels; measure humidity.
⚠️ Safety First: Name one stop-call owner. Ambiguous ownership loads wet floors.
How We Prevent Container Rain? A Step-by-Step Anti Mold Container Shipping SOP
We audit third-party factories to stop moisture before the doors close. Follow this dock checklist to protect your cargo from mold. Each step ends with a verification gate.
Step 1: Run the Pre-Loading Moisture Gate
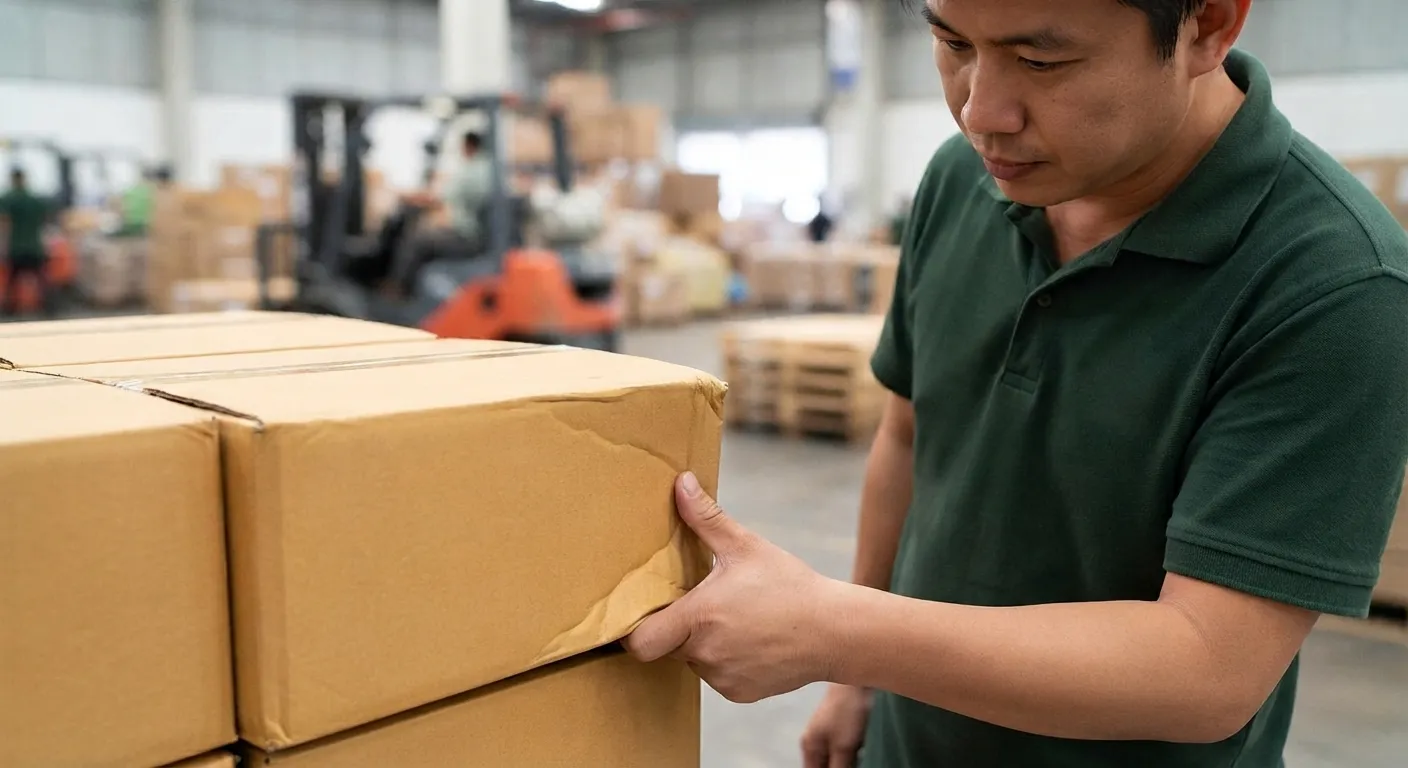
This gate stops moisture from entering the container in the first place. The failure usually starts before the door opens.
Last month, our QC inspector, Marco, pressed a carton edge in staging. It felt cool and slightly soft. That carton never entered the container.
Before loading, verify finished goods are fully dry after production or cleaning. Hold cartons in a controlled staging area. Keep pallets off wet floors. Reject damp cartons, liners, or corner protectors.
Check silica pouches if used: count them and confirm they are intact.
For bag and apparel programs, separate two controls. In-box or in-polybag moisture control manages humidity inside the retail package. Container-level moisture control manages the whole container. Do not confuse them.
Barrier liners help only when cargo is already dry. If cargo is wet, a liner traps moisture and makes mold worse.
Name your primary packaging method. We use sealed polybags for most bag programs, including our custom handbag production runs. Some marketplace compliance requires vented packaging. Acknowledge that alternative.
If you show carton defect photos, describe the exact defect. Say “wavy, soft edge” or “musty pallet corner.” Do not rely on color alone.
A passed staging lot feels dry and neutral. It smells clean, not musty. Records show carton moisture below your gate, pallet moisture below 15%, and a signed staging checklist.
🧠 Expert Take: I have seen teams skip the pallet check. A damp pallet wicks moisture into dry cartons within 48 hours.
Michael Xu, Sales Director
Step 2: Inspect the Empty Container
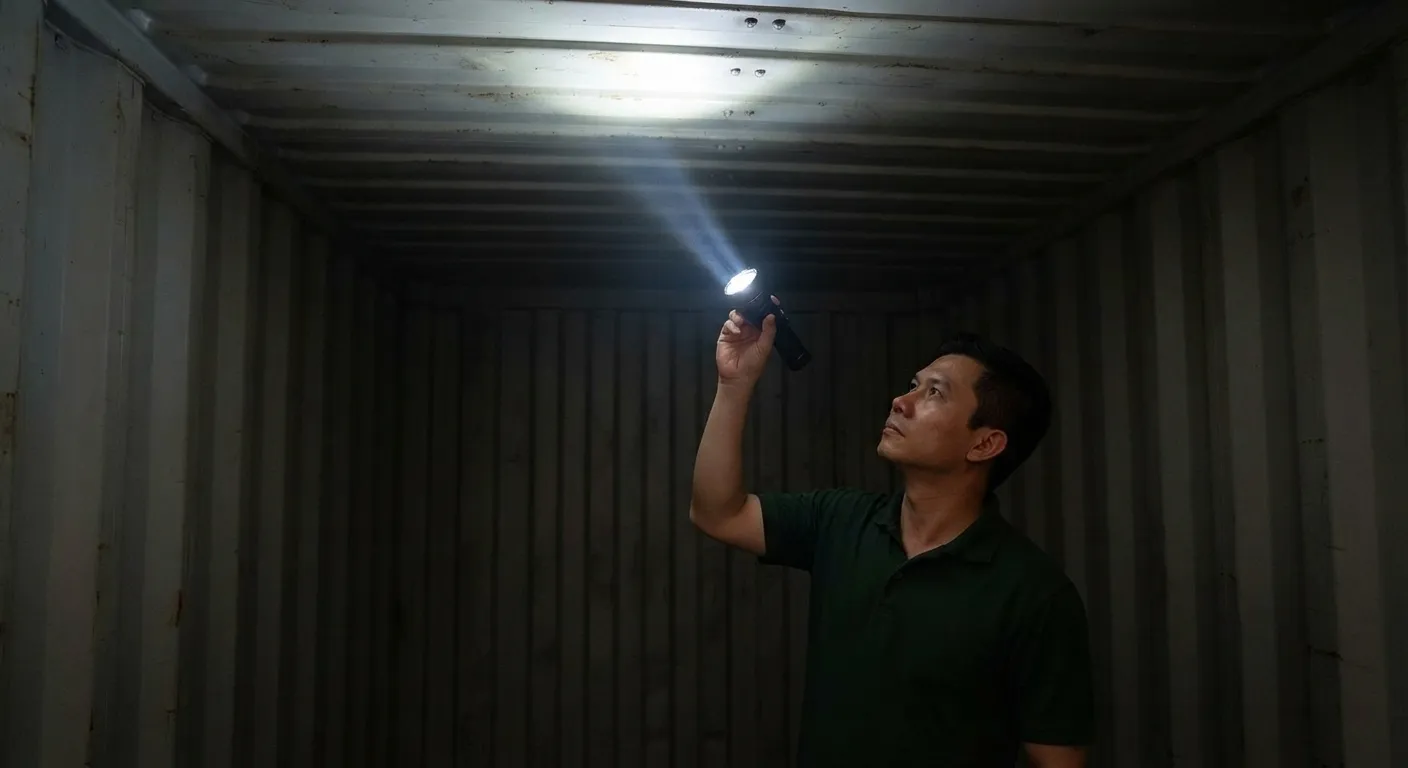
On the dock, the container is the first contamination risk. No cargo gets stuffed until it passes inspection.
I shine a flashlight along roof seams, smell old cargo odor at the door, and palm suspect floor spots. Scan the exterior for damage first. Then check roof, side walls, corners, floor, and door gaskets. Finish with a leak and light check.
Measure the wooden floor at multiple points with a calibrated pin-type meter. Confirm moisture is below 15% before loading. This is our internal gate, stricter than generic advice.
For meter setup and calibration, read the Protimeter moisture measurement guides.
Take five readings: four corners and center. Log each on the checklist. If any point reads 15% or higher, document and stop.
Reject for wet floor, staining, old cargo odor, leaks, condensation, damaged seals, or contamination.
Container RH should be as low as practical at loading. High RH at stuffing creates immediate risk even if the container looks dry.
A passing container looks dry and smells neutral. Log the lowest and highest readings.
For screen readers, say “dark circular water stain near left roof corner,” not “see the marked spot.”
🧠 Expert Take: I once rejected a container that looked dry. It read 18% at the left rear corner. The next read 12%.
Angela Zhao, Marketing & Sales Promotion Specialist
Step 3: Choose the Correct Moisture-Control System
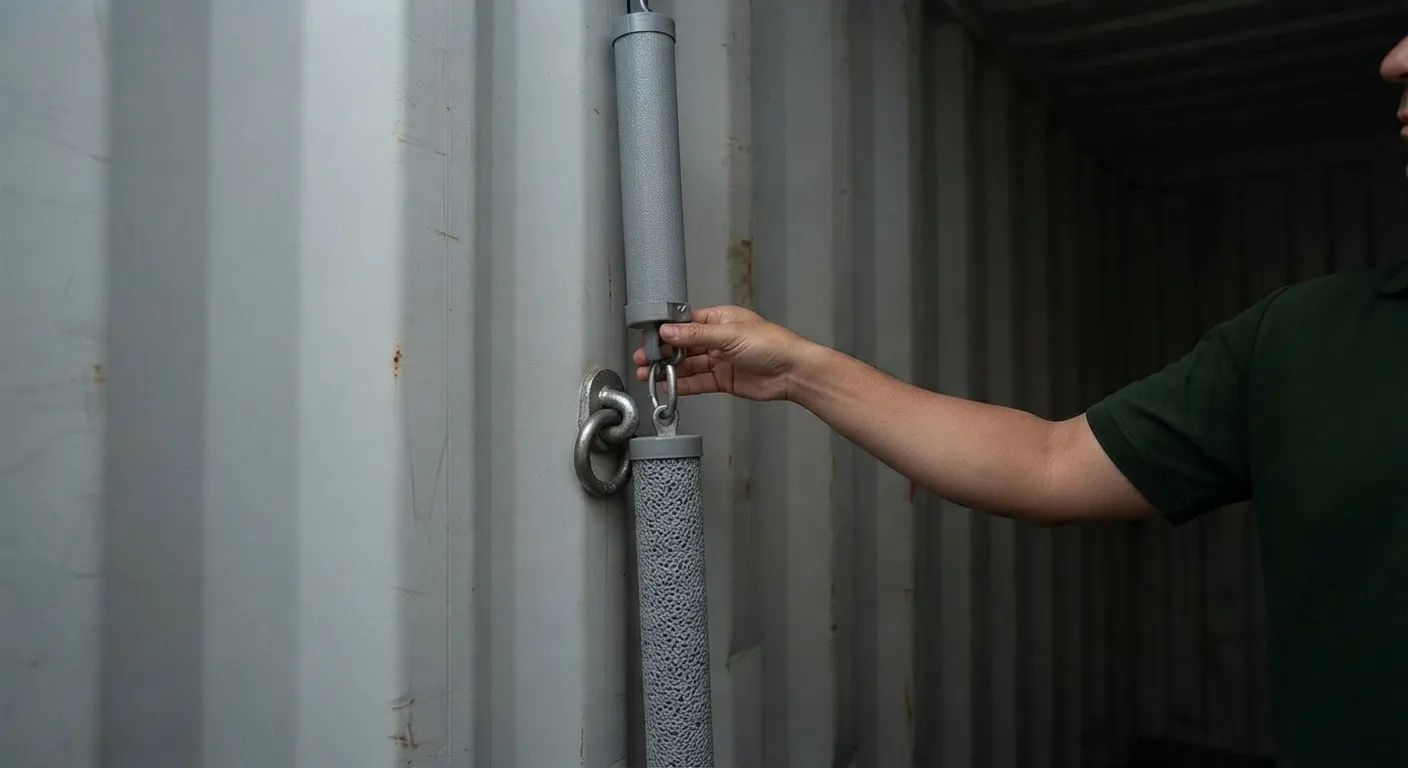
Do not treat every shipment the same. The micro-outcome is a route-specific moisture plan, not a universal desiccant dose.
Separate the layers. Container-level control fights air-volume condensation. Carton and polybag control manages the micro-climate around the product. Barrier liners are for high-risk programs only, and only when cargo is dry.
In our anonymized audit of real 40HQ runs at roughly 30-day ocean transit, calcium chloride hanging poles and strips did the heavy container-level work.
Saturated poles felt heavy and sloshed when I lifted them. Standard silica packs often looked untouched but tested spent. Silica still helps inside cartons and polybags.
Use this as a route-specific recommendation matrix, not a fixed rule.
| Container | Route / season example | Calcium chloride baseline | Silica secondary | Notes |
|---|---|---|---|---|
| 20GP | Short humid origin | 4-6 kg | 0.5-1 kg | Confirm carton dry |
| 40GP | 30-day ocean, mixed cargo | 8-10 kg | 1-2 kg | Adjust for paper |
| 40HQ | Monsoon / port-delay risk | 12-15 kg | 2-4 kg | Long transit |
Route, season, cargo hygroscopy, and transit length change the dose. Apparel needs carton protection. Synthetic bags need moderate carton silica.
Leather goods need tighter RH control. Read our synthetic leather guide before sealing a leather-heavy load. Paper-rich packaging is hygroscopic and needs more.
Add extra controls for long transit, monsoon export, port-delay risk, humid origin, or hygroscopic packaging.
Use calcium chloride as primary container control. Keep silica as secondary carton control. Follow the Desiccare dosage guidance before you hang a single pole.
Before loading starts, QC confirms the count, placement plan, and lot record. The supervisor signs the sheet.
🧠 Expert Take: I have seen saturated calcium chloride poles leak if hung over exposed product. Place them in drip-safe positions, never above open cartons.
Marvin Zhang, Founder & CEO / Bag Supplier
Step 4: Load by Plum-Rain Rhythm, Not Dry-Season Rhythm
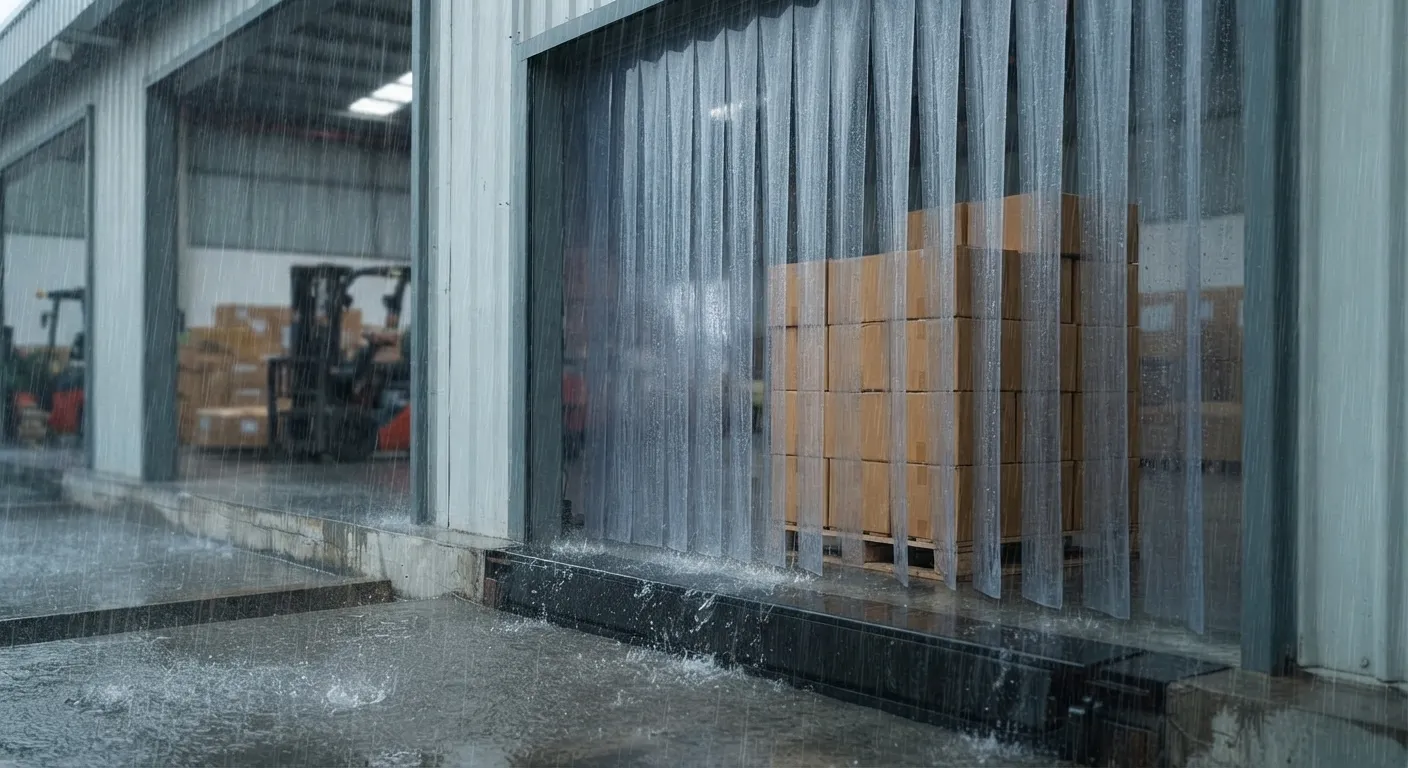
Same container. Same desiccant plan. Different outcome. On our Guangdong dock during plum rain, the air sat sticky at 92% RH. My meter screen fogged twice.
Cartons staged for 40 minutes felt warm on the outside and cool at the seam. Warm carton skin meets a cool container floor. Water forms. That is container rain, and dew point drives it.
So our plum-rain SOP runs different from our dry-season SOP:
- Window: load 6:00 to 10:00 a.m., the driest practical block. Dry season loads all day.
- Desiccant: extra calcium chloride poles near the door and roof-risk zones. 12 to 15 kg on a 40HQ, versus 8 to 10 kg in dry season.
- Spacing: wider carton gaps for airflow.
- Door time: 20-minute blocks, then seal. No idle open container.
- Rejects: any damp carton, liner, or pallet corner goes back on sight.
We also hang a splash barrier along the staging lane. Rain bounce off the apron wets the bottom cartons first. For the wider playbook, read dry-wet separation.
Dock Supervisor Huang blocks full stuffing until he confirms four things: floor moisture under 15%, a dry staging lane, the seal scheduled, and the desiccant count signed.
If you diagram this workflow, label each decision point in text (“floor dry: proceed”, “seam damp: stop”). Never rely on color alone.
⚠️ Experience Warning: A 90-minute open door in plum rain cost us one 40HQ. Nothing looked wet at loading. The roof dripped on day three.
Step 5: Stuff the Container So the Moisture-Control System Works
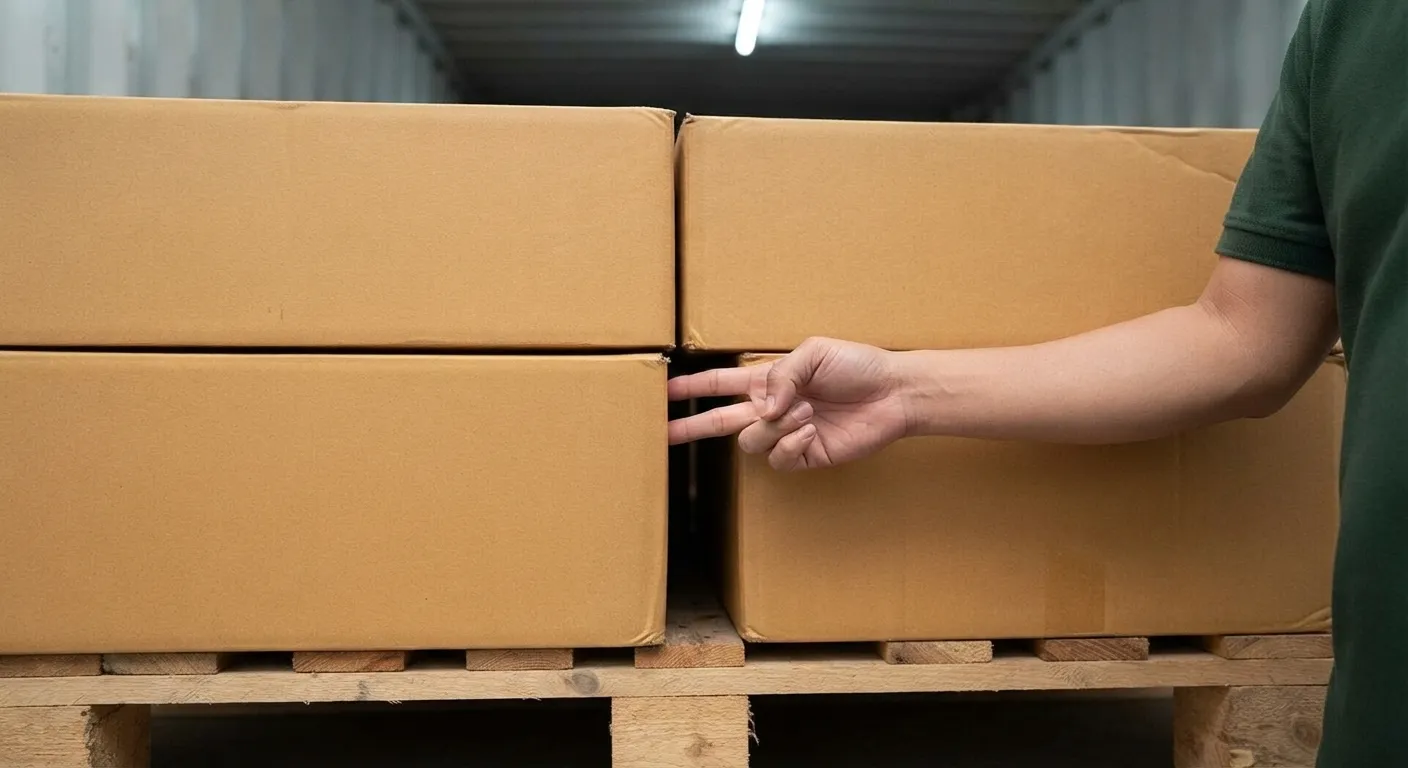
Your micro-outcome: cargo loaded so air reaches the desiccants and moisture leaves the risk zones. On our dock, I call this the loader sequence.
Hang or install desiccants first where your system requires it. Use the left lashing ring near the door and right lashing ring near the door for door-zone units. Place roof poles along the center roof rib with drip-safe clearance.
Do not bury poles behind tightly packed cargo. Do not press absorbent poles flat against cartons. If air cannot reach the pole, it cannot protect the load.
Preserve airflow lanes down both sides and through the center. Load bag and apparel cartons with two-finger gaps between carton faces where practical. Keep top clearance of at least 10 cm below the roof line.
Stop when cartons crowd the roof or door zone. I look for the visible line of hanging desiccant poles from the doorway. That line should remain visible. Palm the airflow gap; it should feel open, not blocked.
Our primary house method: keep container vents open unless the chosen desiccant system or carrier protocol requires sealing. Confirm vent-sealing rules with the forwarder. Do not treat vent sealing as universal.
For high-risk paper or long-transit loads, barrier liners, pallet wraps, or ceiling films can become the primary method. For standard bag programs, these are supplemental only when cargo is dry.
Once stuffing ends, close and seal the doors quickly. Dock humidity returns fast. For container-level planning around these controls, see bag shipping logistics.
Success check: from the doorway, you see desiccant access, clear airflow lanes, no crushed poles, and no wet contact points. If a pole is hidden or a carton touches the roof, stop and reload.
⚠️ Experience Warning: I once watched a crew hide a calcium chloride pole behind cube-heavy cartons. The pole saturated unevenly and dripped onto a leather bag carton. We saved the load, but only after a 40-minute reload.
Step 6: Seal the Container and Release Only With Proof
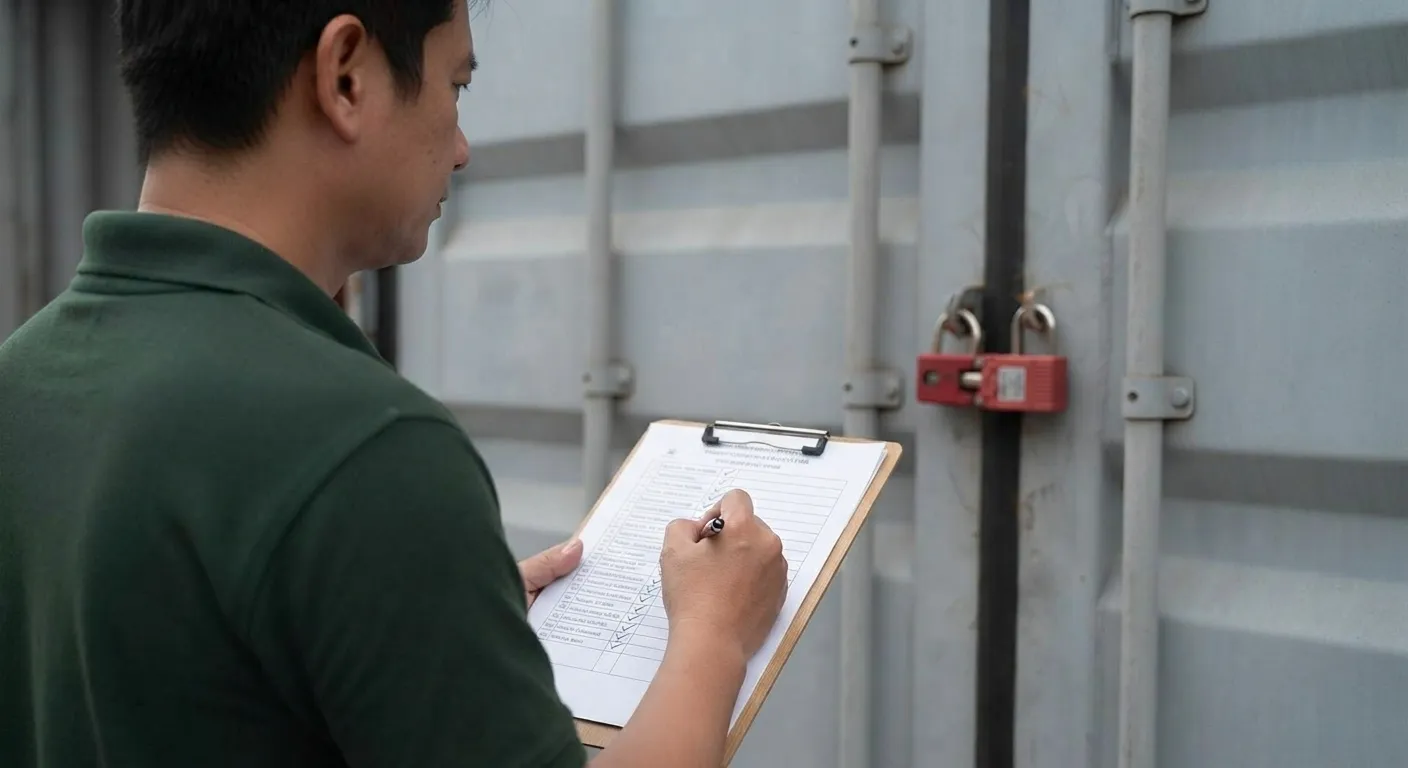
The shipment leaves with proof that anti-mold controls were executed. At door-close, I lean into the gap. It should smell dry and neutral. I listen for the final seal click.
Run a final AQL-style release check. Reject active mold, mildew, staining, musty odor, visibly damp cartons, or failed packaging integrity. Active mold is zero tolerance. Do not average it away.
Record container number, date and time, weather, floor moisture readings, RH and temperature, inspector name, desiccant type and count, vent decision, door-close time, seal number, and photo confirmation.
These records reassure the customer, hold the supplier accountable, and defend a cargo claim. They matter most for custom leather goods and paper-rich packaging.
Capture 3-5 photos before departure: floor meter reading, roof condition, desiccant placement, loaded door view, and final seal. Caption each with container number, time, and reading.
Release only after the checklist is complete, photos are stored, and the seal log matches the shipment file.
⚠️ Experience Warning: I have seen a clean-looking load fail claim review because the seal number sat on a loose scrap. Store it in the shipment file.
Troubleshooting of Anti Mold Container Shipping SOP
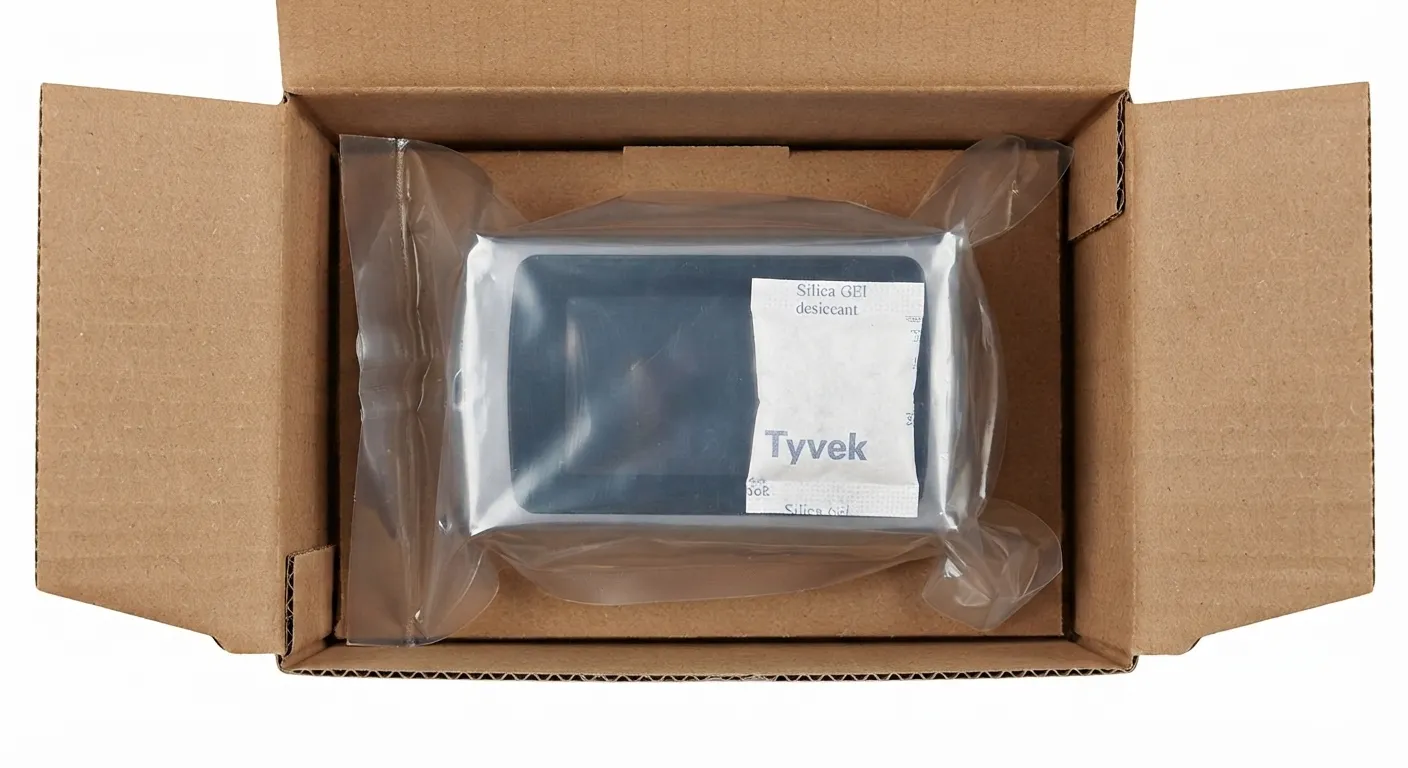
Audit data shows moisture failures repeat in five patterns. Here is how we catch each one before the doors close.
1. Carton Silica Alone Still Let the Container Rain
Why it happened: Silica dries carton air, not container air.
What we do instead: Add calcium chloride. For a 40HQ in monsoon, we use 12 to 15 kg. Silica is secondary. It cannot prevent mold alone.
2. Damp Pallets or Cartons Got Loaded
Why it happened: Wood wicks moisture. A cool, slick pallet corner softens cartons in 48 hours.
What we do instead: Reject damp packaging. Re-stage dry. Keep pallet moisture below 15%. We palm-test every stack.
3. Rainy Loading Ran Long
Why it happened: Open doors pull wet air into cool steel. That is container rain: roof condensation drips.
What we do instead: Load in 20-minute blocks. Seal fast. Use a splash barrier.
4. Desiccants Were Blocked by Cargo
Why it happened: Air cannot reach a buried pole. I have seen a sloshing pole drip onto leather cartons.
What we do instead: Keep poles visible from the doorway. Preserve airflow lanes. Do not press desiccant poles flat.
5. “Climate Controlled” Was Not Measured
Why it happened: A label is not a reading. Warm, humid air still condenses.
What we do instead: Measure RH, temperature, and dew point. Keep vents per forwarder protocol. Do not seal by habit.
Our Verdict: Packaging tricks alone cannot save a wet environment. Escalate longer transit, leather, cotton-rich goods, paper-heavy packaging, monsoon loading, or port delays.
🛡️ Prevention: Palm-test cartons and pallets. A cool, slick feel or musty smell means stop.
Conclusion
Treat anti-mold shipping as a system, not a desiccant purchase. The chain is dry cargo, dry container, correct desiccant design, disciplined loading, and documented release.
Next, turn this SOP into a route-by-route matrix for 20GP, 40GP, and 40HQ loads. Train dock teams. Review mold claims against checklist fields, not memory.
My Experience: On a recent Guangdong 40HQ load, the floor meter read 14% at the door and 17% at the rear corner. I stopped the load, swapped the container, and lost half a day. We saved the shipment.
Run your palm across a dry floor: cool, dull, neutral. A musty container says the claim is already moving.
Ready to protect a wet-season load? Ask my sourcing team for a container review. For multi-region programs, start with bag sourcing by region.
Disclosure: LantaoBags is the factory whose SOP I reviewed, and I have a commercial interest in the consultation linked above. I take no payment from desiccant suppliers, liner makers, or carriers. Verify live carrier and marketplace rules before you ship.
People Also Ask About Anti Mold Container Shipping SOP
1. What is the first hard stop in an anti-mold container shipping SOP?
The first hard stop is floor moisture. I reject any container floor reading at 15% or higher before loading.
In one Rotterdam review, an 18% rear-corner reading looked dry until the meter proved otherwise. We pulled the container. Give one supervisor the stop call in writing.
2. Can silica gel alone stop container rain in a 40HQ?
No. Silica helps inside cartons and polybags, not the whole container air volume.
In our 30-day 40HQ audits, calcium chloride poles did the container-level work. A 40HQ in monsoon risk needed 12 to 15 kg, plus secondary silica.
Place poles in drip-safe spots and keep them visible from the door.
3. How do I prove the anti-mold SOP ran before release?
Use a completed checklist, photos, and a seal log. I require five floor readings, RH and temperature, desiccant type and count, vent decision, door-close time, seal number, and inspector name.
Match the seal log to the shipment file. Never release on a verbal OK. I treat active mold as zero tolerance under our ISO 9001 QC process.
4. Does a barrier liner fix a wet load?
No. A barrier liner can trap moisture if cargo or pallets are damp. It only helps when cargo is already dry, and it is a high-risk control, not a universal fix.
Palm-test cartons and pallets first. Reject damp packaging, then stage dry. If the liner goes in over wet wood, you have built a greenhouse.