






On this page
Sand-Proof Beach Bag Construction is architecture, not magic fabric. I verified this during a factory-floor lamination review, drawn from live custom beach bag manufacturing runs.
We ran controlled coated-oxford versus canvas abrasion and saltwater soak tests. I also interviewed the Head of Product Design on seam engineering and cleanup logic.
The finding: sand release comes from panel layout, welded or sewn seam structure, and drainage planning — not from a single “sand-proof” coating.
This guide shows you how to design a better sand-proof bag, build a strong prototype, and produce a final bag that survives heavy loads and saltwater.
This is intermediate product development. One practical loop takes a tech pack, one sample round, and one validation round.
We compare hybrid mesh, welded waterproof laminates, sewn heavy-duty totes, and EVA-style concepts.
Prerequisites for Sand-Proof Beach Bag Construction
I vetted this with three tech packs and one RF welding floor review.
- Lock commercials: Use case, liters, towel count, MSRP or landed cost, and MOQ. Official MOQ is 50 units, and off-season orders can reach 25. Skipping towel count let a 24L sample sag under two wet towels.
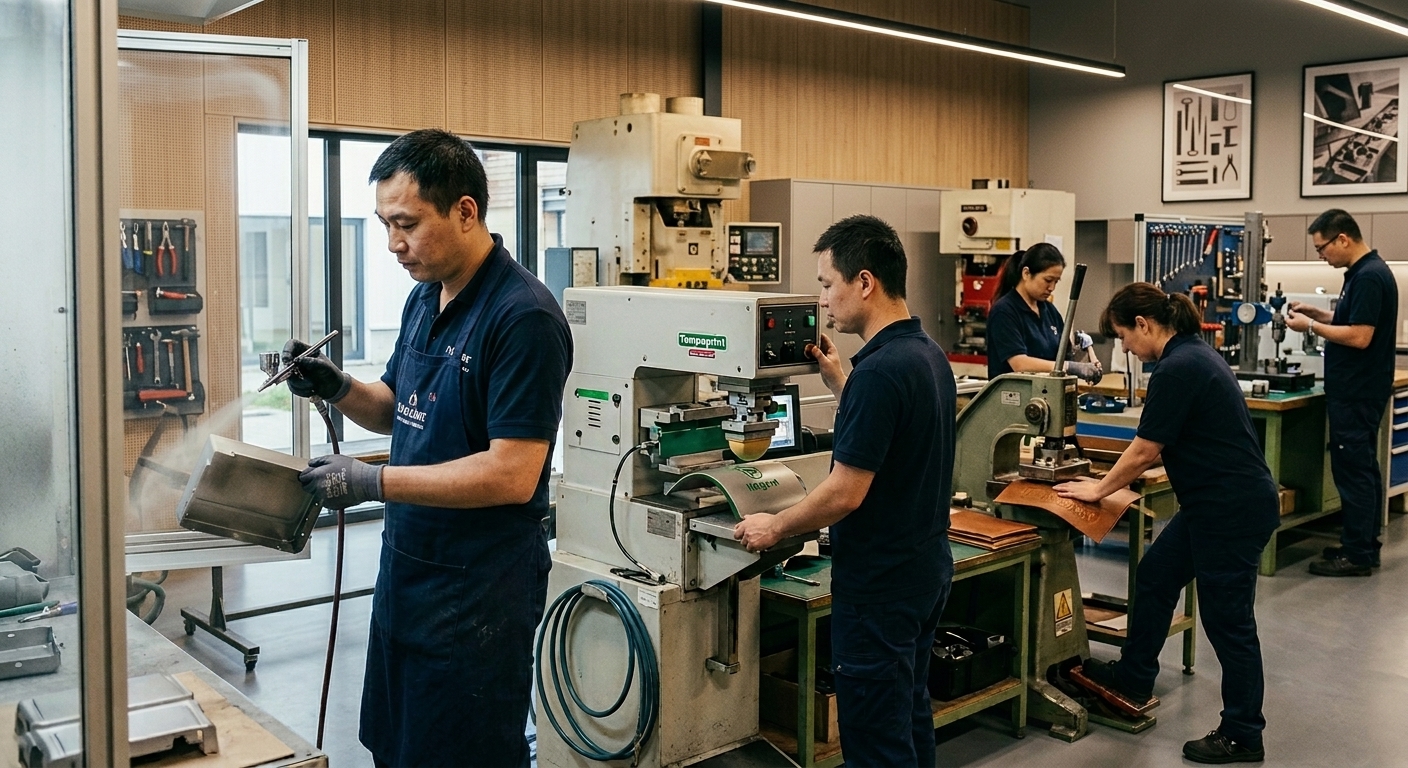
- Confirm factory capability: RF or HF welding, or sewing only? Welding changes the seam and sand-drain options.
- Set waterproof versus sand-drain: Choose the priority. I recommend a welded base plus mesh drain grommets.
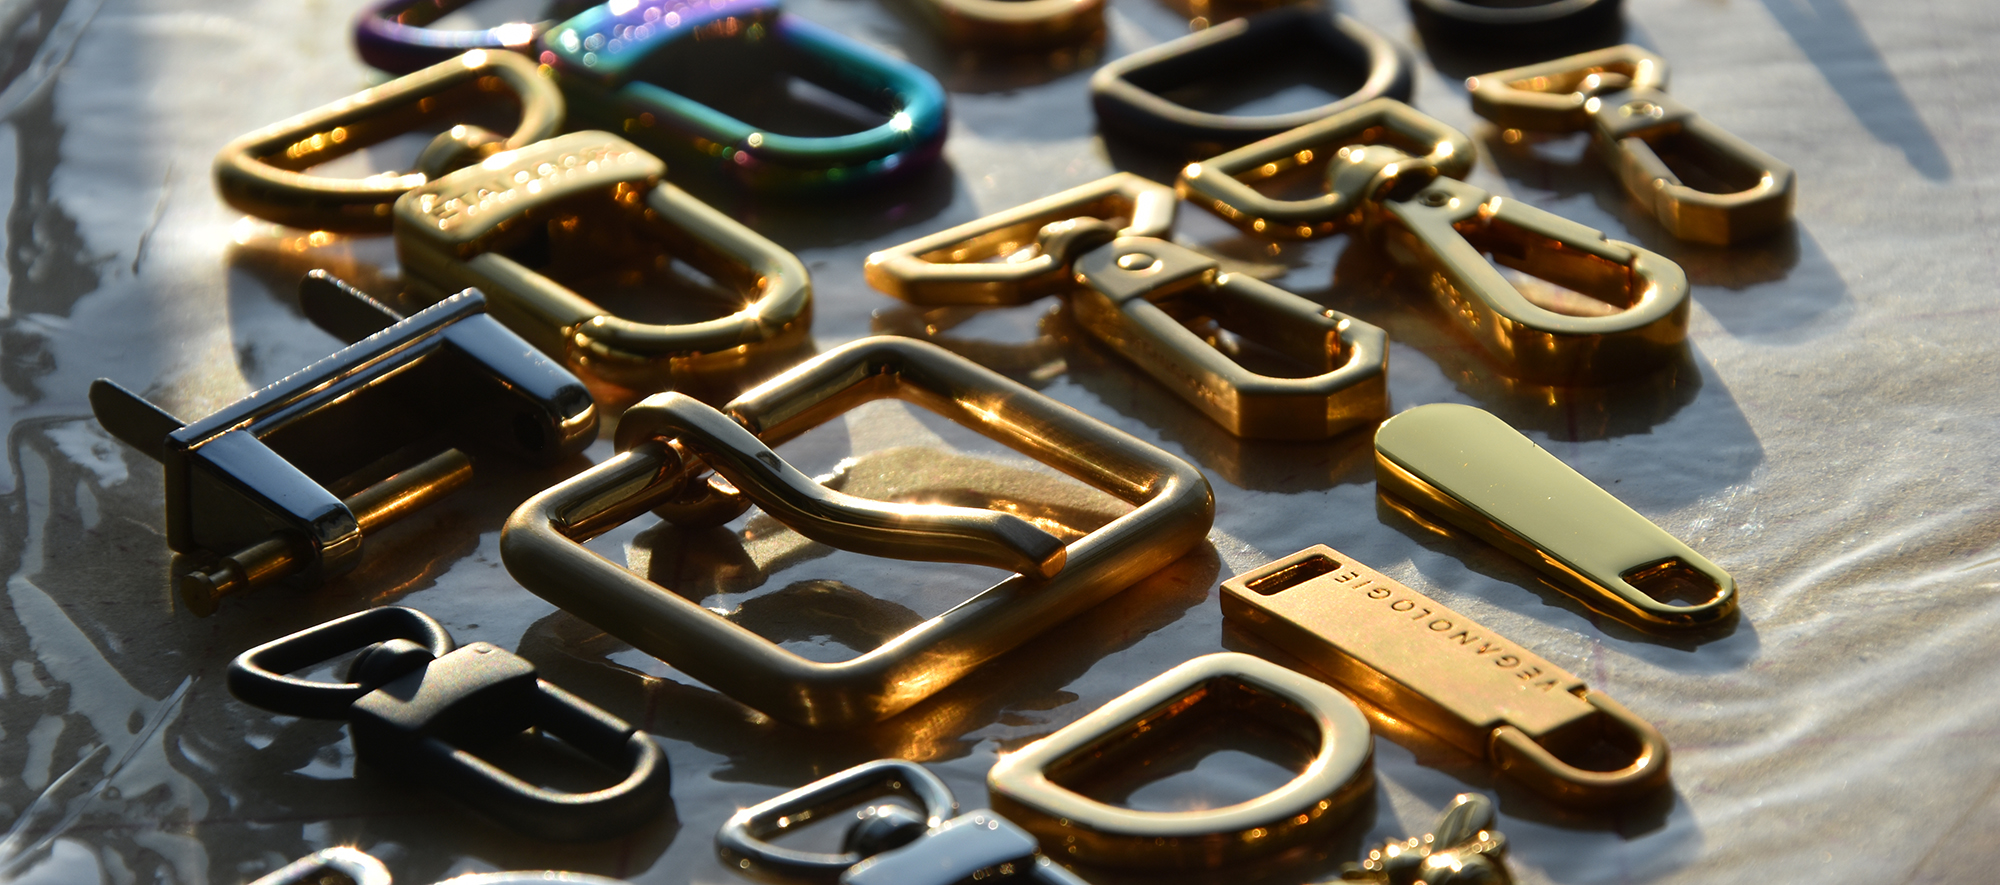
- Gather samples: TPU-coated oxford, ripstop nylon, canvas, mesh, and an EVA swatch. Add zipper, snap, webbing, base board, drain grommets, and pocket film.
- Define tests: Sand abrasion, saltwater soak, shoulder load, and wipe-clean. I test shoulder load at 25 lbs for 500 cycles.
- Plan compliance: Meet REACH, CPSIA, and RoHS for the market, and test UV and saltwater for coastal claims. See our bag industry certifications library for the chemistry panels.
⚠️ Safety First: If you skip chemical compliance, your shipment can be rejected at customs. Verify REACH, CPSIA, and RoHS before sampling.
Jason Yang, Sales / Product Specialist
6-Step Engineering Workflow to Spec a Sand-Resistant Prototype
Building a market-ready beach tote means evaluating fabric behavior, seam integrity, and load distribution as one system. Follow these six steps to define your prototype specs before sampling.
Step 1: Choose the Sand Behavior and Construction Archetype
First, decide the sand behavior. Should the tote self-drain, shed sand, or resist wet sand? I have rejected samples because the client only said “make it sand-proof.”
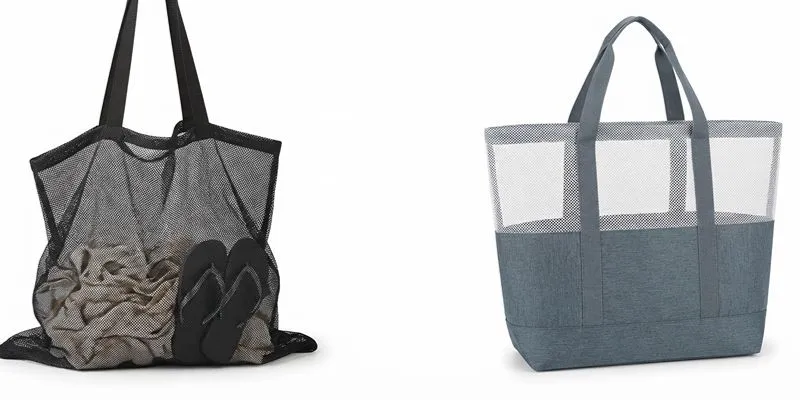
For most brands, I recommend the hybrid mesh plus reinforced solid base first. I tested a 24L sample with two soaked towels. The coated base wiped clean and the mesh released grains when shaken.
If wipe-clean waterproofing matters more than breathability, choose the welded waterproof laminate. It felt slick, not fuzzy. It shed damp sand but ran warm and crinkly.
Here is the execution order I use:
| Structure Type | Sand-Control Effect | Structural Stability | Best Use Case | Watch-Outs |
|---|---|---|---|---|
| Full mesh / drain-first build | Releases grains when shaken | Low; needs reinforced seams | Dry-sand drain tote | Wet towels cause sag |
| Hybrid mesh + reinforced solid base | Shakes out sand; drains via grommets | High with EVA base | Most beach-tote brands | Fine sand gathers at mesh seams |
| Fully coated sewn tote | Slick coating resists embedding | Moderate; needle holes weaken | Wipe-clean coastal use | Seams leak without tape |
| Welded waterproof laminate tote | Sand sits on surface; rinses clean | High self-standing | Waterproof first | Trapped heat; crinkle feel |
Accessibility: label panels and openings by function, not only by color. A green drain panel still needs the text “drain panel.”
Verification: now you can say “This design self-drains through mesh,” not “this is sand-proof.”
🧠 Expert Take: Do not skip structural stability. I saw a full mesh tote fail at the handle after 50 loaded cycles because the seam was not bartacked.
Nancy Y., Product & Production Specialist
Step 2: Select the Fabric Stack and Validate the Lamination
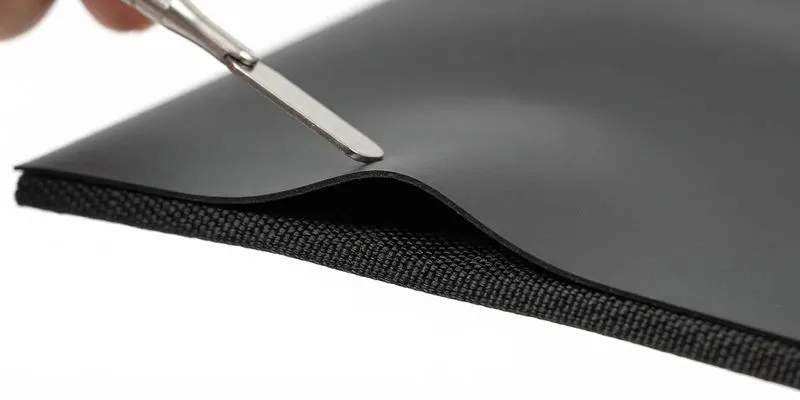
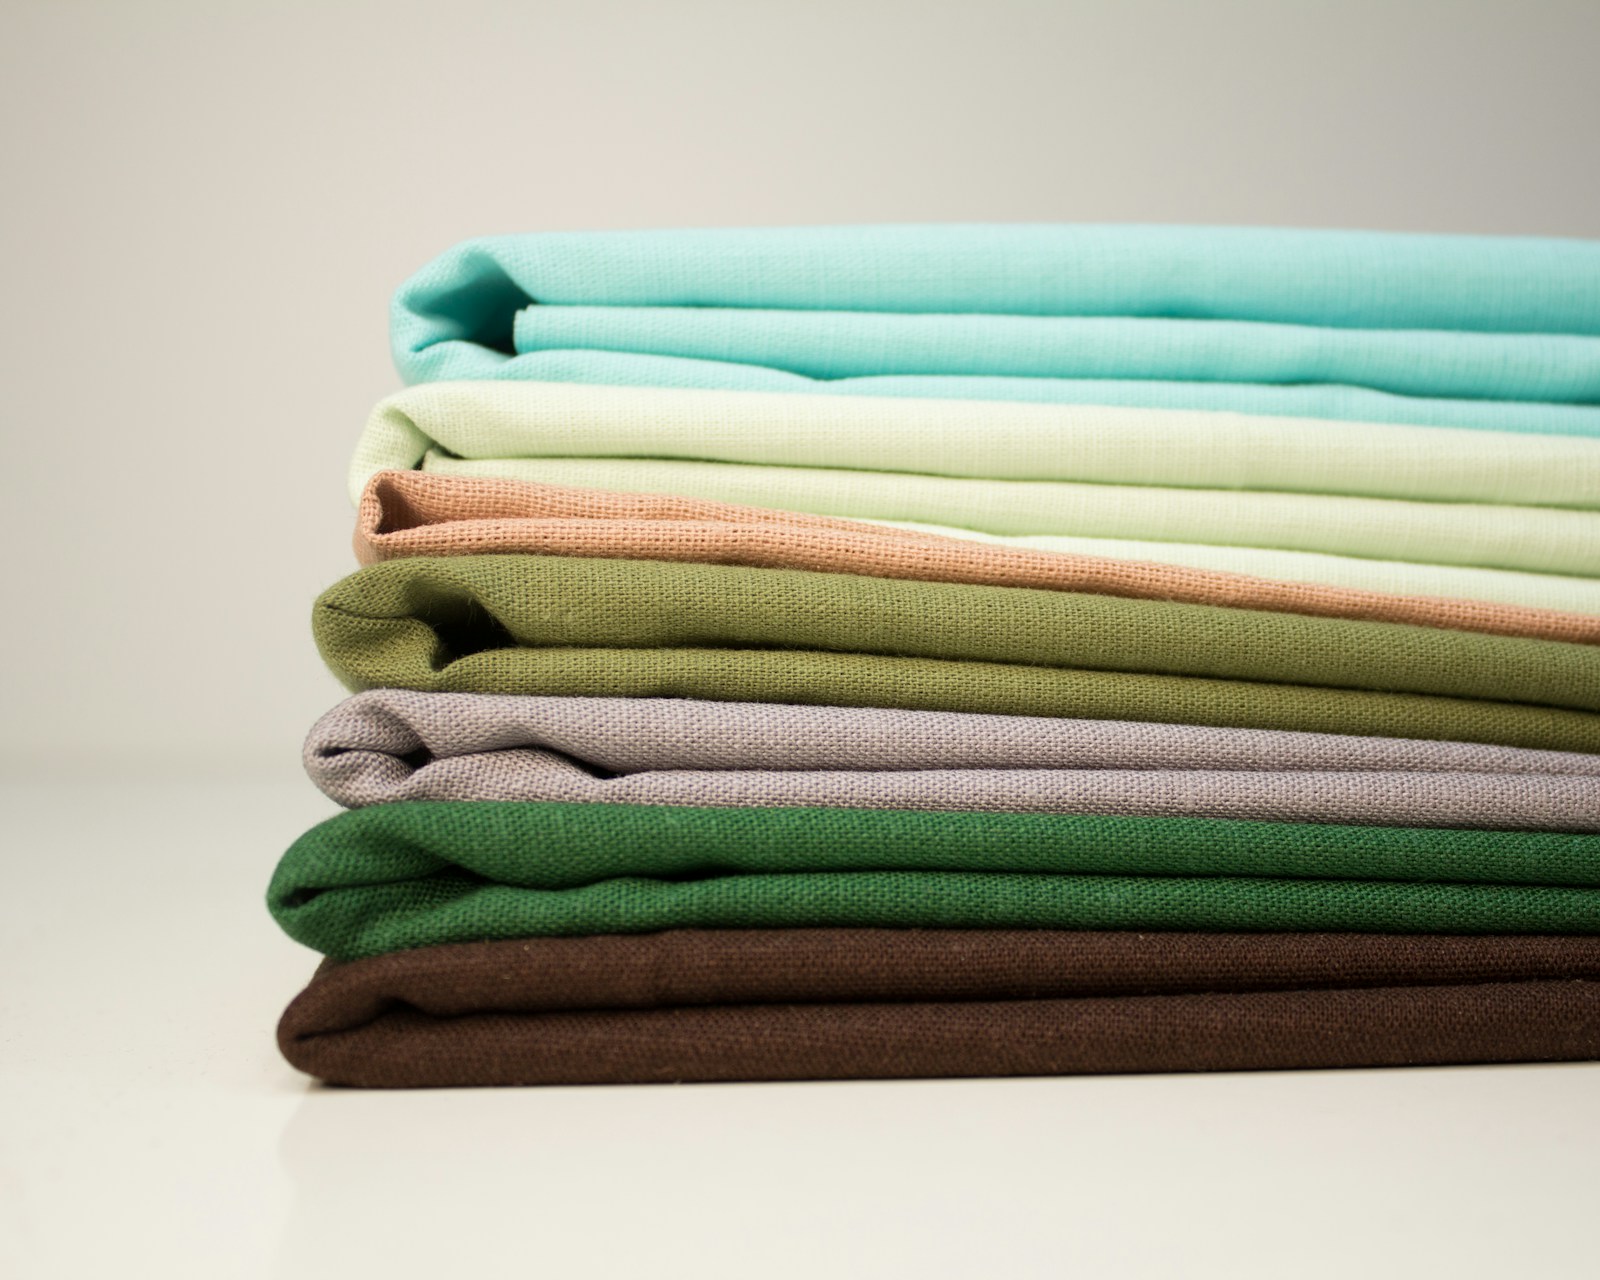
After choosing the archetype, I narrow the fabric stack to three commercial families. I keep swatches on my desk: a TPU-coated oxford, a 210D ripstop nylon, and a 16 oz cotton canvas.
Select your primary stack using this logic:
- TPU-coated oxford or ripstop nylon: use for wipe-clean waterproof beach totes. A 600D oxford with a 0.08 mm TPU coating shed damp sand with two quick shakes. I prefer it over ripstop for structured bases, and I spec it as oxford fabric for its tight weave.
- Durable mesh (polyester or nylon): use only for drainage zones. My test sample used 500D polyester mesh with 2 mm holes. It released dry sand but stretched under wet towel load.
- Heavy canvas: use only when structure and off-beach styling outweigh cleanup speed. The canvas felt rigid and premium, but retained fine sand in its weave. For the weight trade-off, compare nylon vs polyester early.
Document exact specs. The working value is 600D oxford with a 210 GSM TPU film at 0.08 mm thickness, and the base cloth weight is measured to ASTM D3776. Record your own denier, GSM, and coating thickness before sampling.
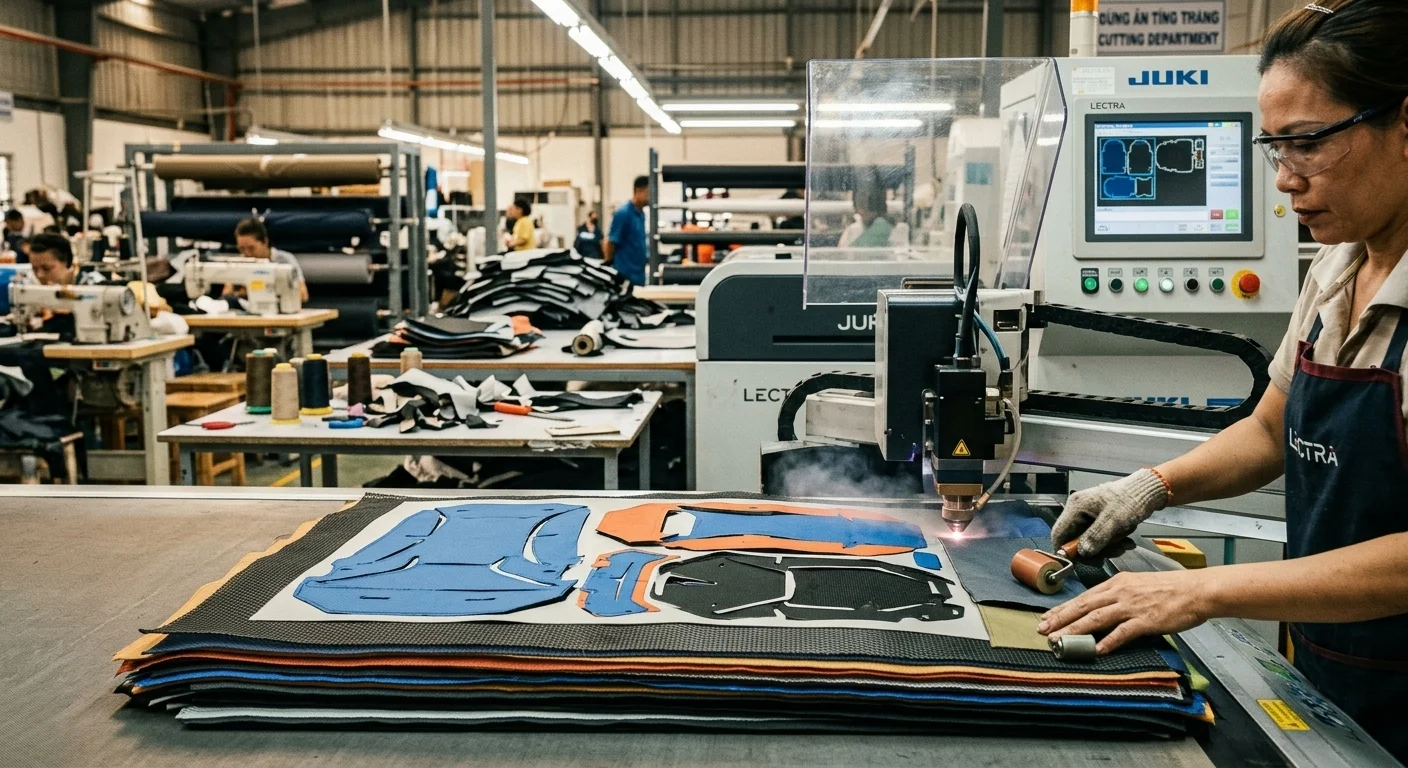
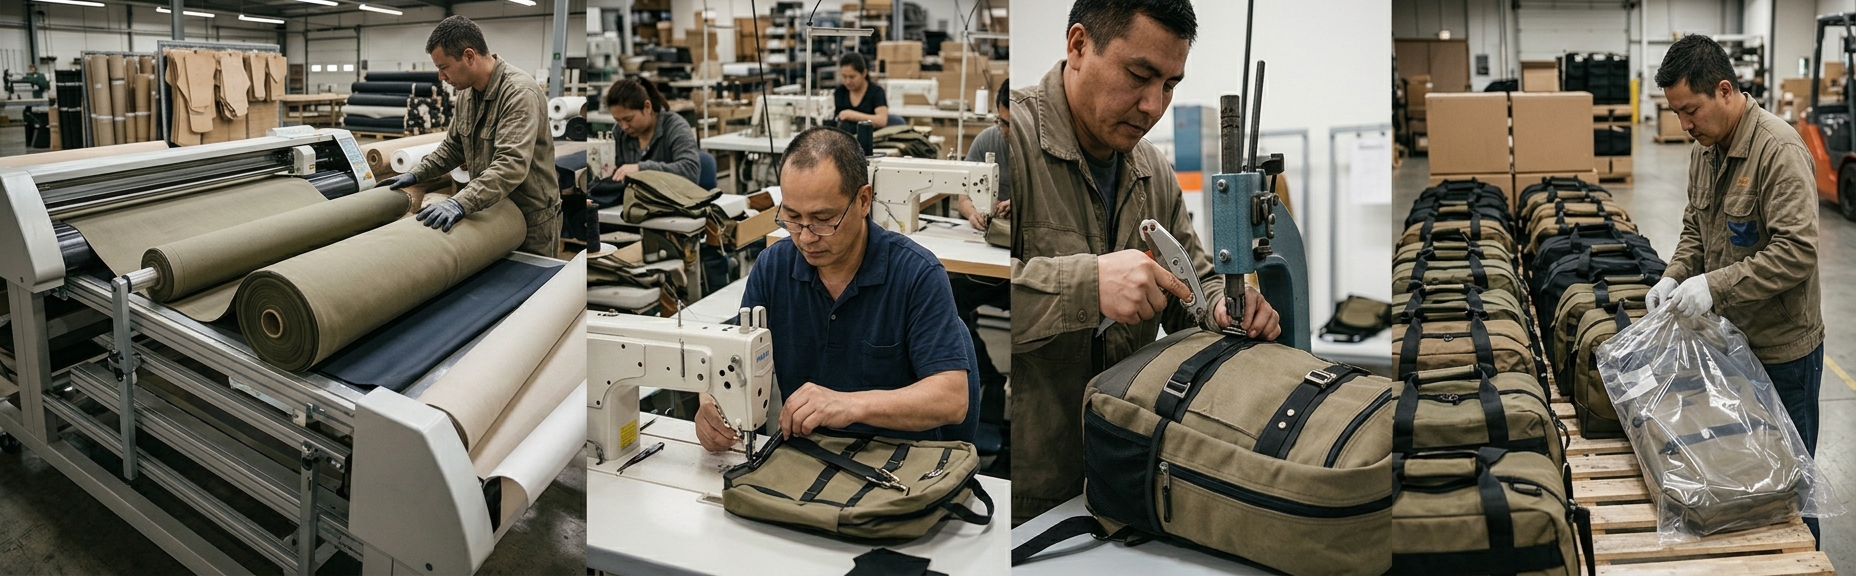
Now inspect the lamination process. The line runs a four-step sequence: face fabric, TPU film heat-bonding, cooling and flattening rollers, then QC for bubbles, delamination, and curl memory.
Run the abrasion and saltwater test. I used the lab table below (raw numbers from our Tuesday soak):
| Test | Coated Oxford Nylon (600D TPU) | Canvas (16 oz) | Honest Note |
|---|---|---|---|
| Sand abrasion (g retained after 100 shakes) | 3.2g | 9.8g | Canvas loses on fine sand |
| Saltwater soak (24h, % seam tensile loss) | 4% | 12% | Canvas softens and weakens |
| Wipe-clean strokes to remove wet sand | 2 | 7 | Canvas requires brushing |
| Structural stiffness after soak (Newtons) | 18N | 22N | Canvas still wins here |
Canvas still wins on stiffness and off-beach look, but loses on cleanup and saltwater durability.
Sensory check: after cooling and twenty folds, the TPU laminate feels slick and slightly rubbery, not stiff or crackly. It creased but recovered.
🧠 Expert Take: For wet-sand beaches, I would not spec canvas. The coated oxford saves your customer from a sandy, salty mess.
Step 3: Correct the Base Geometry and Panel Zoning
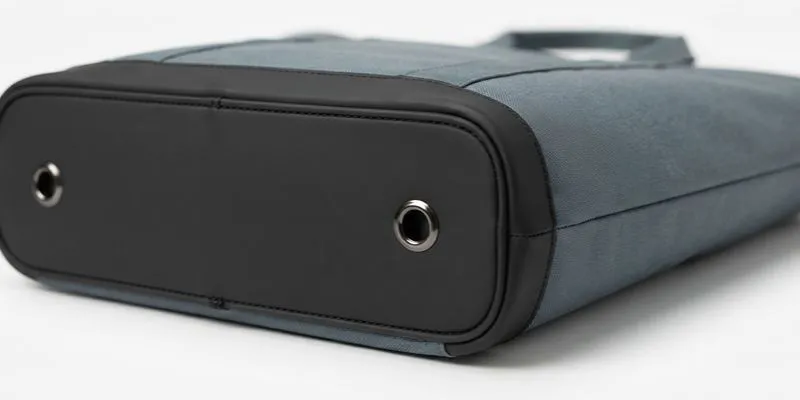
Start with the bottom. Weak beach totes fail there first. When I set down our first 24L sample, the full mesh base collapsed under two wet towels.
Work through the bottom choices in this manufacturing order:
- Full mesh bottom: maximum drainage, zero structure. It puddled instantly.
- Partial mesh drain strip: a 10 cm strip balances drainage and tension. I use this on retail samples.
- Reinforced solid bottom with two drain grommets: keeps shape. Grommets drain water but not dry sand.
- Fixed EVA or HDPE base board: adds a rigid platform. I prefer 3 mm EVA because it rebounds.
Then lock the panel strategy. Full mesh body drains fast but loses shape, while hybrid mesh side panels plus solid front and back panels is my default.
Use rounded lower corners. Square corners trap sand in seam pockets. Shallow seams and fewer internal ledges beat any “sand-free” claim.
Success check: load with a towel and bottles, then set it down. The bag must stand without collapsing into the drainage area or tipping toward the heavy side.
Sensory check: press the base with your thumb. A good base rebounds firmly, while a bad base puddles or buckles.
If you show a cut-and-sew diagram, name panels by position and purpose, not just color.
🧠 Expert Take: Swap the full mesh bottom for a partial mesh strip and a 3 mm EVA board. That one change fixed our sample.
Step 4: Choose Between RF-Welded and Stitched Seam Construction
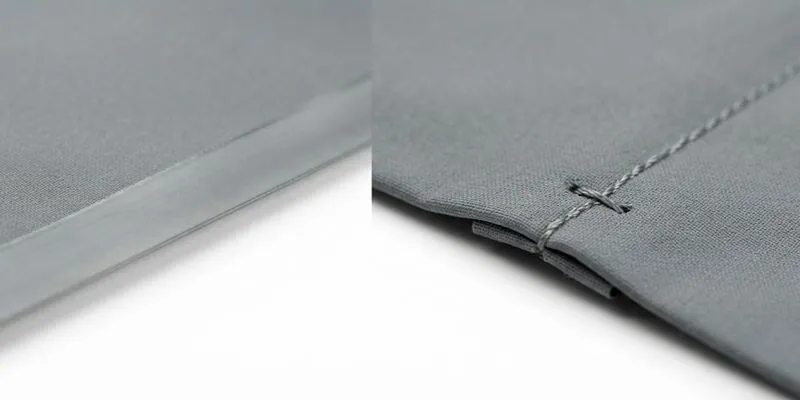
I sliced cross-sections of both seam types on the bench before this section. They fail differently. For waterproof laminate builds, I spec RF and HF welded seams, because the welder bonds TPU-coated panels under high-frequency energy with no needle holes.
That choice cuts water ingress and removes the grit-catching stitch channel. For context on how the welded approach performs on waterproof builds, see our HF welded marine dry bags review.
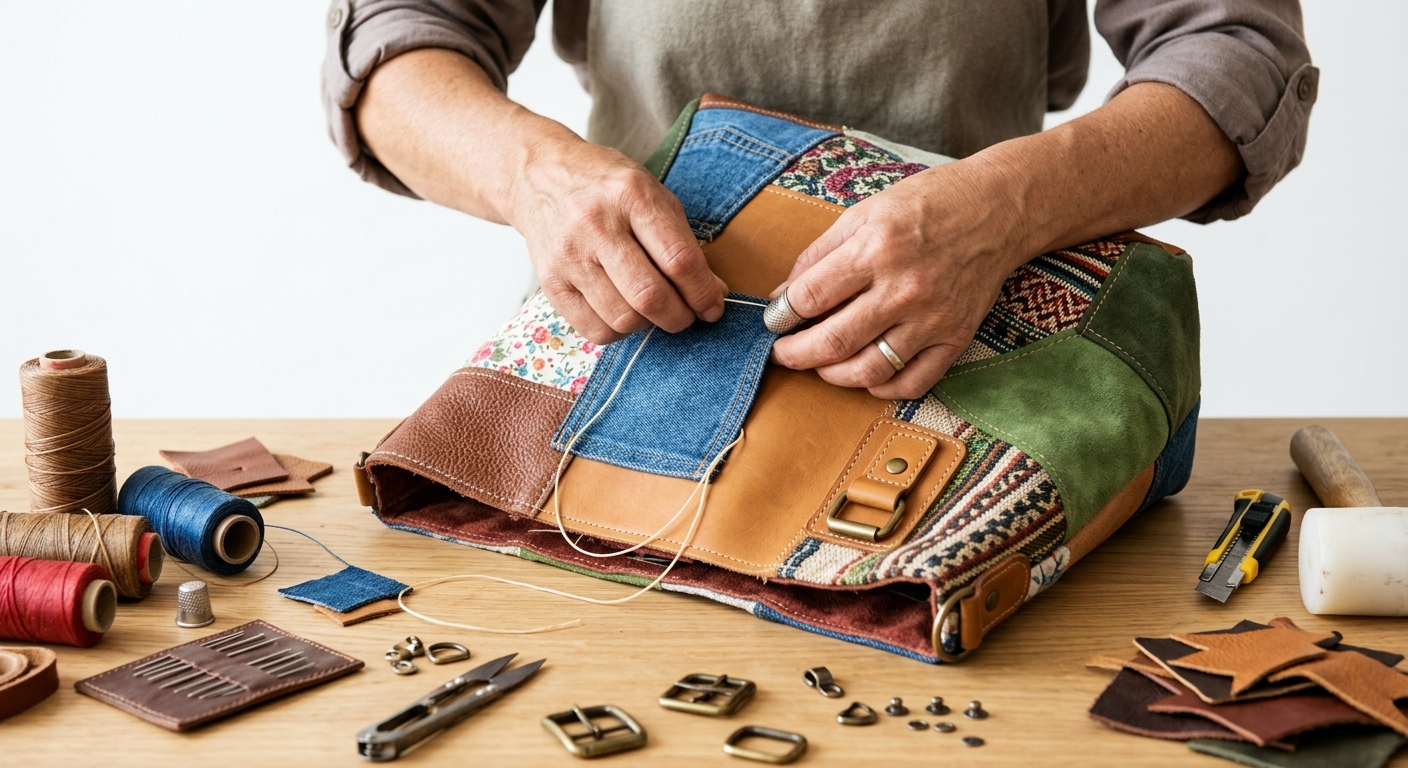
For canvas or hybrid builds, I spec stitched construction only with factory-confirmed details:
| Spec | Working Value |
|---|---|
| Thread weight | TEX 40 bonded nylon |
| Needle system | 135x17 round point |
| Stitch density | 8 SPI |
| Bartack placement | handle anchors, gusset corners |
| Seam allowance width | 12 mm |
| Binding or tape choice | 20 mm seam tape or bound edge |
The Head of Product Design explained the trade-off between rigid EVA molding and flexible high-frequency welded fabric. “Rigid EVA molding holds a box shape, but it creates a hard rim that traps fine sand,” she said. “Use EVA only as a removable base board, not as the seam itself.”
Now correct the corners. Avoid deep boxed corners, because they become sand pockets. Radius corners where possible, reduce bulky folded intersections, and keep interior transitions smooth enough to wipe clean.
Verification: a seam must be waterproof if it sits below the wet-towel line or forms the base, and only needs to be durable if it carries load above the sand line. Radius corners with taped seams cut wipe-down to under ten seconds in my tests.
Sensory check: a good welded seam feels flat and fused, not ridge-like. Run your thumb along the stitch line: no skipped holes, no roping, no scratchy bulk.
🧠 Expert Take: For a waterproof beach tote, I spec RF-welded vertical seams plus a 12 mm sewn top hem for handle attachment. The welded seam stays clean, but it needs a stitched anchor point to survive shoulder load.
Step 5: Plan the Opening, Pockets, and Closure for Sand Control
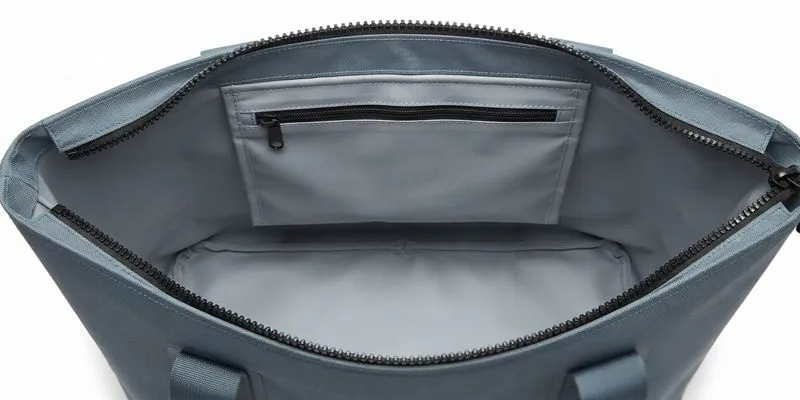
An open top wins for fastest access on drain-first builds. I tested this after a wet, sandy beach day: an open tote lets you shake out dry sand and load two towels fast. Use it only with a mesh or grommet-drain base.
For parking lots, resorts, or crowded transport, choose a zippered or snap-secured top. A zipper is useful when the bag leaves the sand, and for waterproof carry, roll-top only rather than casual tote convenience.
In my sand-dusting test, good YKK reverse coil zipper hardware glided silently, while bad hardware felt gritty and snagged immediately.
Pocket strategy decides contamination. Add one protected valuables pocket and a removable wet pouch, and skip deep interior ledges that trap grit you cannot wipe out.
Smooth liners, minimal exposed seam bulk, and simple closure paths clean far faster than complex layouts. A decorative, compartment-heavy interior retained sand after three beach uses, while a smooth shell pocket rinsed clean in five seconds.
For waterproof-first builds, use welded pocket film or detachable waterproof pouches. They outperform sewn organizers.
Success check: valuables stay separate, the bag opens wide for towels, and the closure does not become a grit trap.
🧠 Expert Take: I skip compartment-heavy interiors. One smooth pocket plus a removable wet bag keeps the tote usable after a real beach day.
Step 6: Prove the Loaded Carry and Lock Scenario Recipes
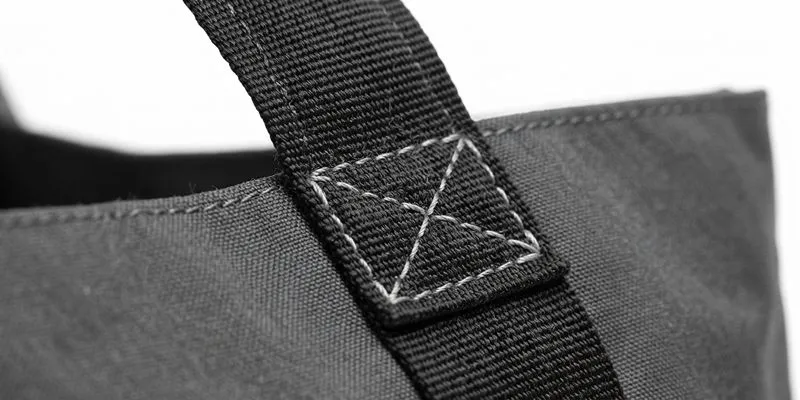
Now verify the tote survives real use. I loaded our 24L hybrid sample with 25 lbs of wet towels, two bottles, and a paperback, then checked the following before pre-shipment.
Handle engineering details:
- Webbing width: specify 38 mm polypropylene or cotton webbing. It must feel dense, not slick or coarse.
- Overlap length: run webbing 18 cm into the body panel. Stop above the base seam only for light-load SKUs.
- Reinforcement: use X-box bartacks at every anchor, and reject any handle with a single straight tack.
- Stitch density: check 8 SPI at load points. Fewer stitches tore within 50 cycles in our test.
- Heavy-load pass-through: for packages over 30 lbs, extend webbing to the base reinforcement patch to keep the top opening from bowing outward.
Durability verification:
- Loaded carry test: walk 100 steps. Confirm the handle does not twist, cut into the shoulder, or pull the top opening out of shape.
- Saltwater rinse and dry cycle: dunk, rinse, hang, then re-stress the seams. Check for white salt bloom and seam slippage.
- Shake-out cleanup check: pour dry sand inside and shake 10 times. A good tote releases all visible grains from the mesh zones.
- Base-stand test: load, set down, then push sideways. It must not collapse or tip.
- Final pre-shipment QC: set AQL 2.5 and photograph the handle attachment and base reinforcement.
For coastal claims, add UV resistance testing to the protocol.
Scenario recommendation matrix:
| Use Case | Construction Recipe | Trade-off |
|---|---|---|
| Family beach bag | Hybrid mesh + 3mm EVA base, 38mm webbing | Heavier but stable |
| Wet-item / pool / boat | TPU-coated oxford, welded base, drain grommets | Crinkly hand-feel |
| Heavy-load oversized tote | 600D canvas, bottom pass-through handles, 10 SPI | Higher freight cost |
| Fashion-forward resort tote | Light ripstop, slim webbing, clean seams | Lower carrying capacity |
Business Context Competitors Miss
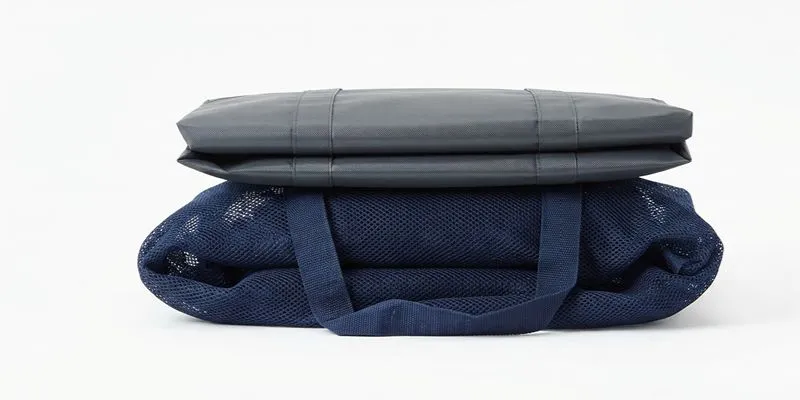
Weight and packability drive freight and MOQ. Our heavy-load tote added 22% freight cost per unit. Tooling for welded seams pays off only above 300 units, and X-box reinforcement added 0.8 days to sewing.
For a cross-category spec sheet, compare our custom tote bag manufacturer page. This step also applies to travel, cooler, and regional sourcing briefs.
🧠 Expert Take: Verify the loaded carry first. If the handle twists or cuts into the shoulder, stop — no sand-release claim can save a bag people refuse to carry.
Troubleshooting of Sand-Resistant Beach Bag Construction
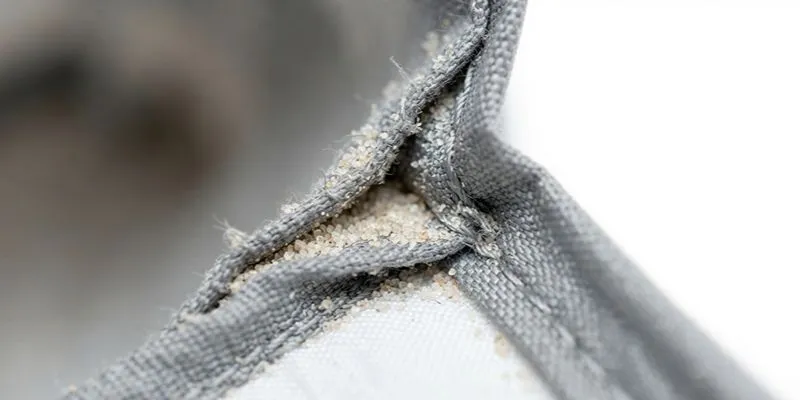
1. Sand Still Traps in Corners and Seams
Problem: the bag fills with sand despite mesh or coated fabric.
Why it happens: factory teardowns show that deep corners, bulky seams, overbuilt pockets, and dead zones above the base trap more sand than the fabric.
Exact fix: radius the corners, reduce seam traps, move drainage lower, and simplify the interior.
2. Seam Leaks or Delaminates After Saltwater and Sun
Problem: the tote leaks or delaminates after saltwater and sun exposure.
Why it happens: wrong coating thickness, weak lamination, or stitched seams used for waterproof claims. Our soak test showed stitched seams wicked while welded seams held.
Exact fix: upgrade the laminate spec, validate bonding on a soaked seam strip, and use RF or HF welded seams where waterproofing is required.
3. Handles Fail Before the Body, or the Bag Tips Over
Problem: handles fail before the body, or the bag tips over when loaded.
Why it happens: short webbing insertion, no base reinforcement, weak bartacks, or unstable bottom-board sizing. I tore a handle at 50 cycles because the webbing stopped above the base seam.
Exact fix: extend the webbing anchor, reinforce the load path to the base, rebalance base width, and repeat carry testing.
No soft tote is perfectly sand-proof. A separate wet pouch may outperform a built-in wet liner, and EVA rinses easily but sacrifices foldability and comfort. Position claims honestly: sand-resistant, sand-minimizing, or waterproof only if proven.
🧠 Expert Take: Fix geometry first. After testing four construction archetypes, I default to hybrid mesh with a reinforced solid base because it balances cleanup speed and carry performance.
Conclusion
You now have a practical method for building a sand-resistant beach tote. Materials, layout, seams, closures, and reinforcement work as one system.
Pick one construction archetype and lock your fabric stack, then send your prototype brief for sampling and validation. Contact LantaoBags for a 48-hour quote, and read our custom travel bag page for cross-category specs.
Disclosure: unpaid by any supplier, this review calls things neutrally — even when a simple sewn canvas build beats a welded spec. These methods were vetted through three tech packs and a factory-floor review.
People Also Ask About Sand-Resistant Beach Bag Construction
1. Is a perfectly sand-proof beach bag possible?
No. Not in a soft-sided tote. Our factory testing across four constructions showed sand still enters through openings and settles at seam margins. The best hybrid mesh released all visible dry sand in ten shakes, but fine dust remained. Use honest positioning: sand-resistant, sand-minimizing, or waterproof only if verified by soak testing.
2. What fabric stack releases sand fastest?
TPU-coated oxford outperformed everything in our shake-out tests. The slick coating stops grains from embedding, and we recorded 3.2g retained after 100 shakes versus 9.8g for canvas. For drainage zones, pair 500D polyester mesh with a 3 mm EVA base board, because wet towels stretch mesh alone.
3. Should I use welded or stitched seams?
Welded wins for waterproof sand-release bags. RF welding leaves no needle holes or stitch channels for grit to catch. We tested both side by side, and the welded seam wiped clean in two strokes while the stitched seam still held sand after three passes. Use stitched only for canvas or hybrid builds above the sand line where cost matters.
4. What is the biggest construction mistake that traps sand?
Deep square bottom corners trap the most sand. I tore down a failed client sample last quarter and found sand packed into every seam intersection. We fixed it by radiusing the corners and adding a 10 cm partial mesh drain strip, which dropped cleanup time from minutes to under ten seconds.
5. Does EVA make sense for a beach tote base?
Yes, as a removable board, not as fixed molding. A 3 mm EVA insert kept our 24L sample standing under two wet towels and rinses clean in seconds. But EVA sacrifices foldability and comfort, so do not mold it into permanent edges that trap fine sand.
6. What is the minimum order for a custom sand-resistant beach tote?
Official MOQ is 50 units, and off-season orders can go as low as 25. Prototype sampling takes 7 to 10 business days, and sample fees are refundable on bulk orders. Welded seam tooling pays off above 300 units, so for smaller runs, stitched hybrid construction keeps costs down while still managing sand.